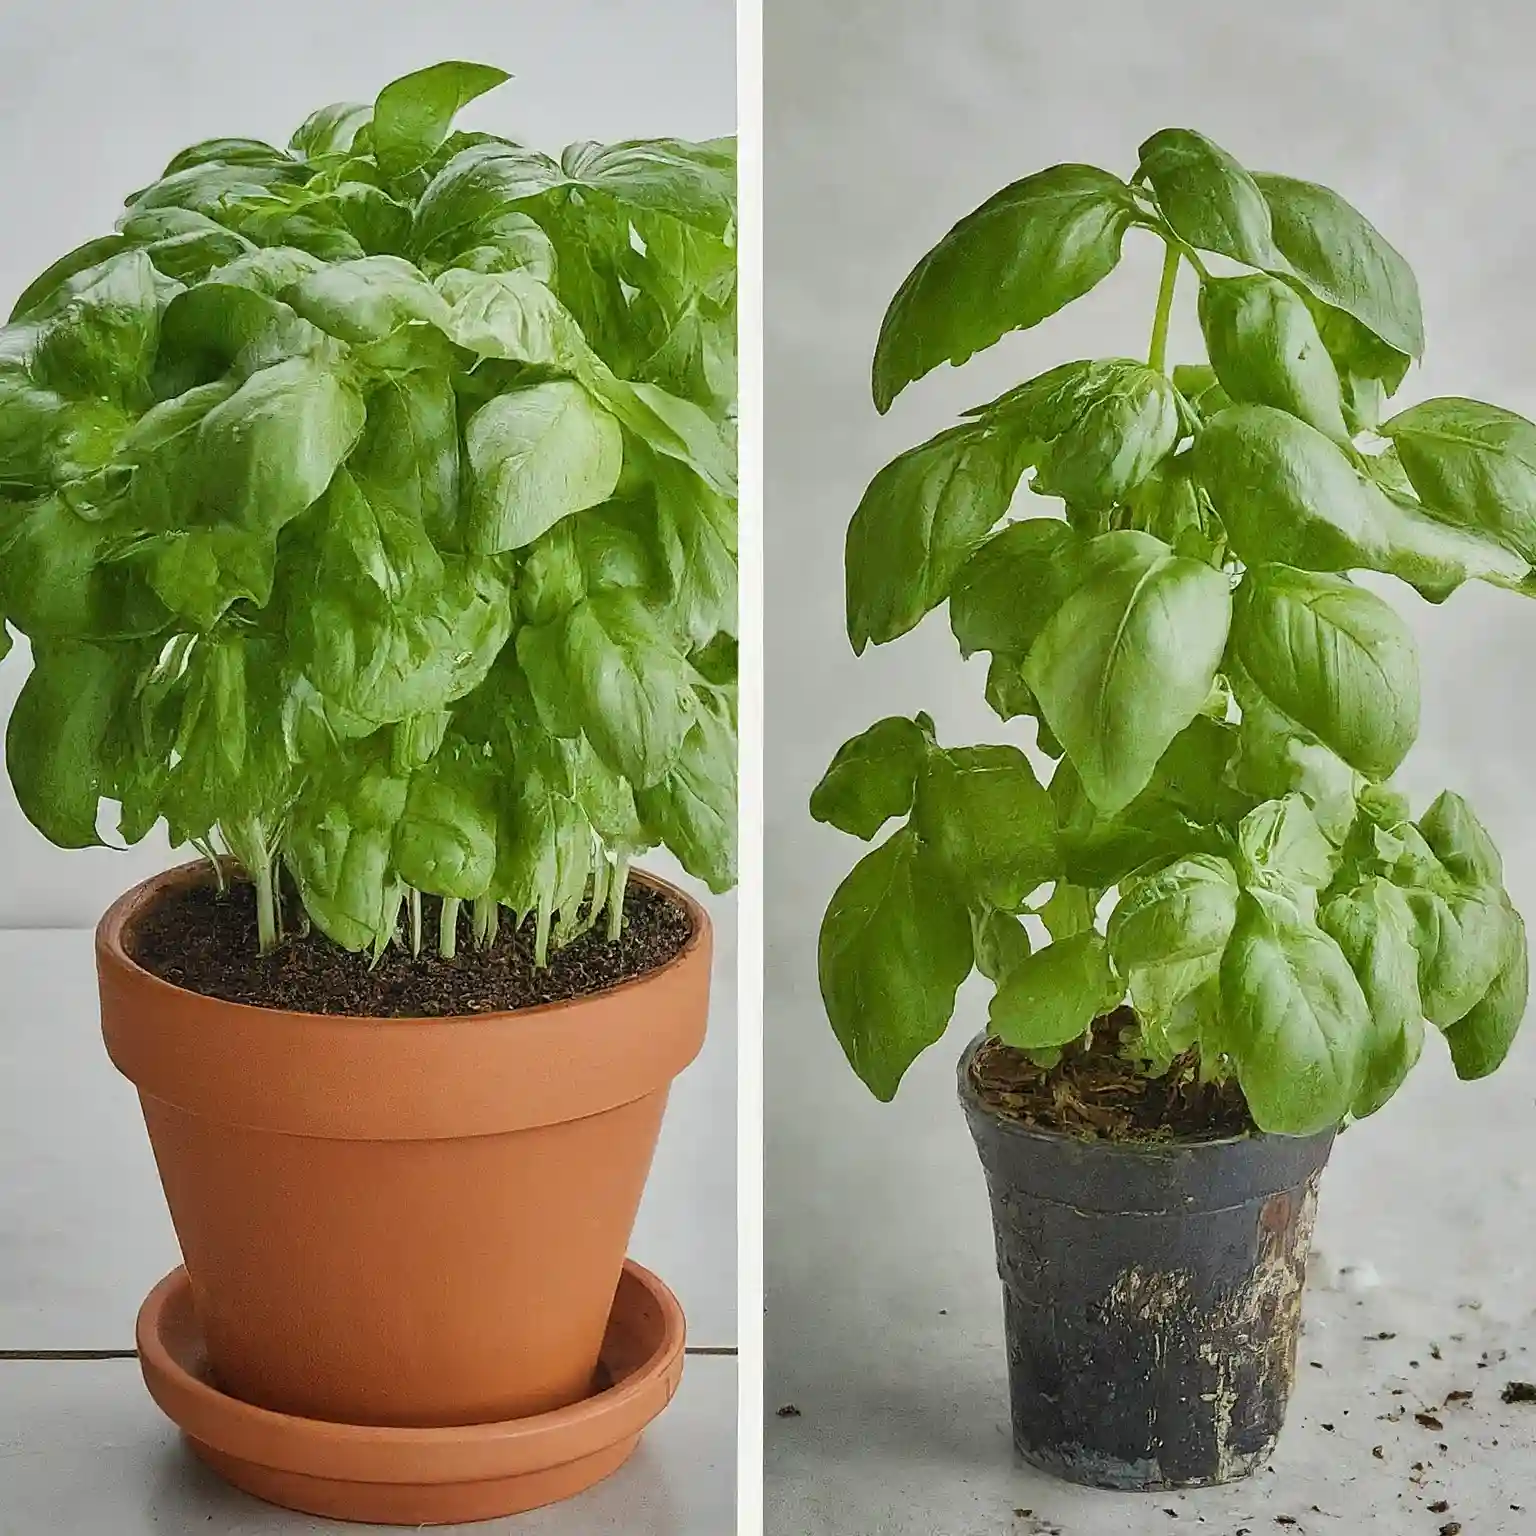
Ever wonder how to repot a small basil plant and transform it from a wilting underdog into a leafy champion?
Your beloved basil, once boasting vibrant green leaves and fragrant promise, now struggles in its tiny pot. Leaves droop, growth stalls, and dreams of delicious pesto seem to fade. Fear not, fellow herb enthusiast! With just a little know-how, you can breathe new life into your precious plant through the magic of repotting.
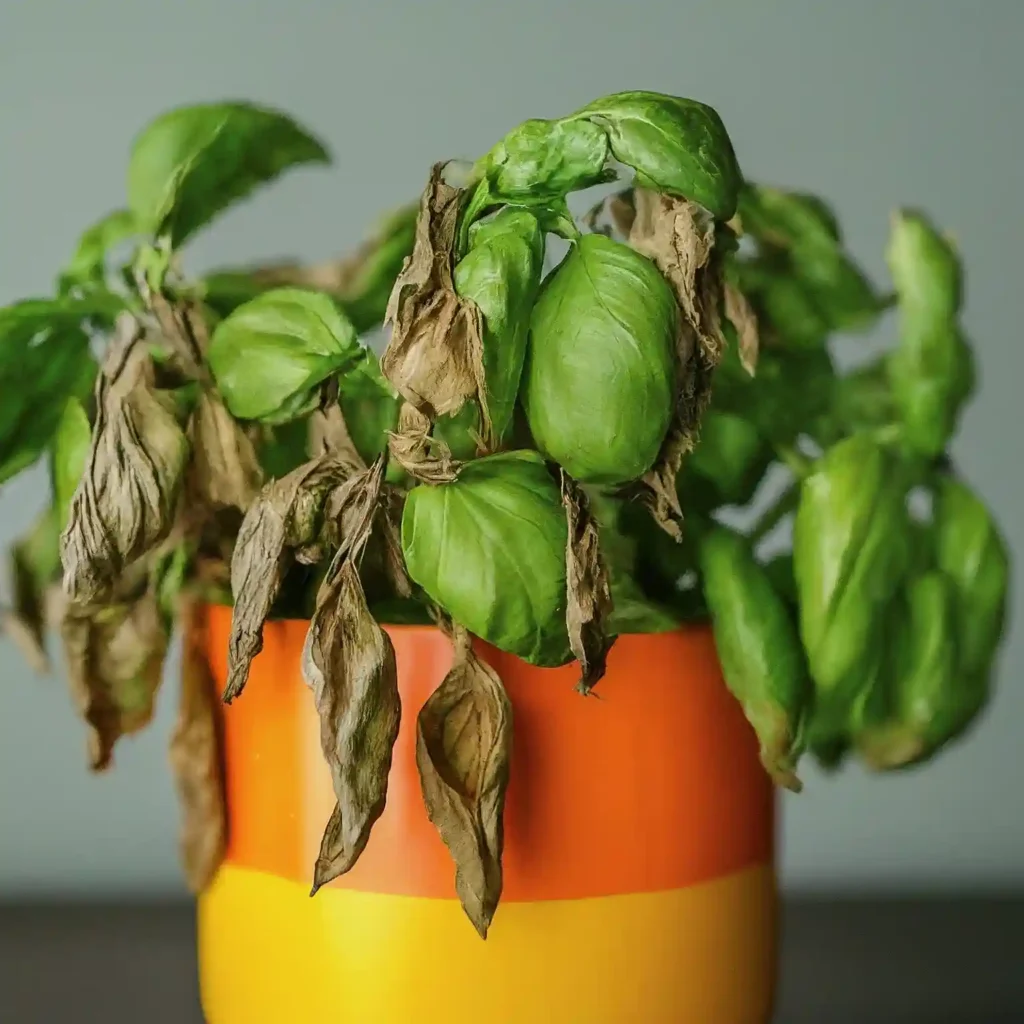
But before we dive into the heroic act of repotting, let’s understand why it’s so crucial. Roots, the lifeblood of your plant, get cramped in that small pot, unable to spread and explore for vital nutrients and water. This rootbound state leads to stunted growth, yellowing leaves, and a general air of despair. But worry not! Repotting is like giving your basil a spacious new apartment, allowing its roots to roam free and unlock its full potential.
Think of this guide as your personal roadmap to repotting success. We’ll delve into the telltale signs your basil needs a bigger home, equip you with the right tools and knowledge, and guide you through the repotting process step-by-step. By the end, you’ll be a confident basil champion, ready to watch your plant flourish and reward you with an abundance of fragrant, delicious leaves!
Understanding Your Basil’s Plight: Signs It Needs a Bigger Home
Before we embark on your small basil plant’s heroic repotting journey, let’s become plant detectives! Understanding the signs your basil needs a bigger home is crucial for successful intervention. Don’t worry, we’ll break it down in simple terms, ensuring you possess the knowledge to act like a true plant whisperer.
The Root of the Problem:
The key culprit behind a struggling basil plant often lies beneath the surface – its root system. Just like humans need space to stretch and grow, so do plant roots. When confined in a small pot, these roots become rootbound, unable to efficiently absorb water and nutrients from the soil. This leads to a cascade of problems, ultimately hindering your basil’s ability to thrive.
Visual Cues:
Keep your eyes peeled for these telltale signs that your basil is yearning for a new home:
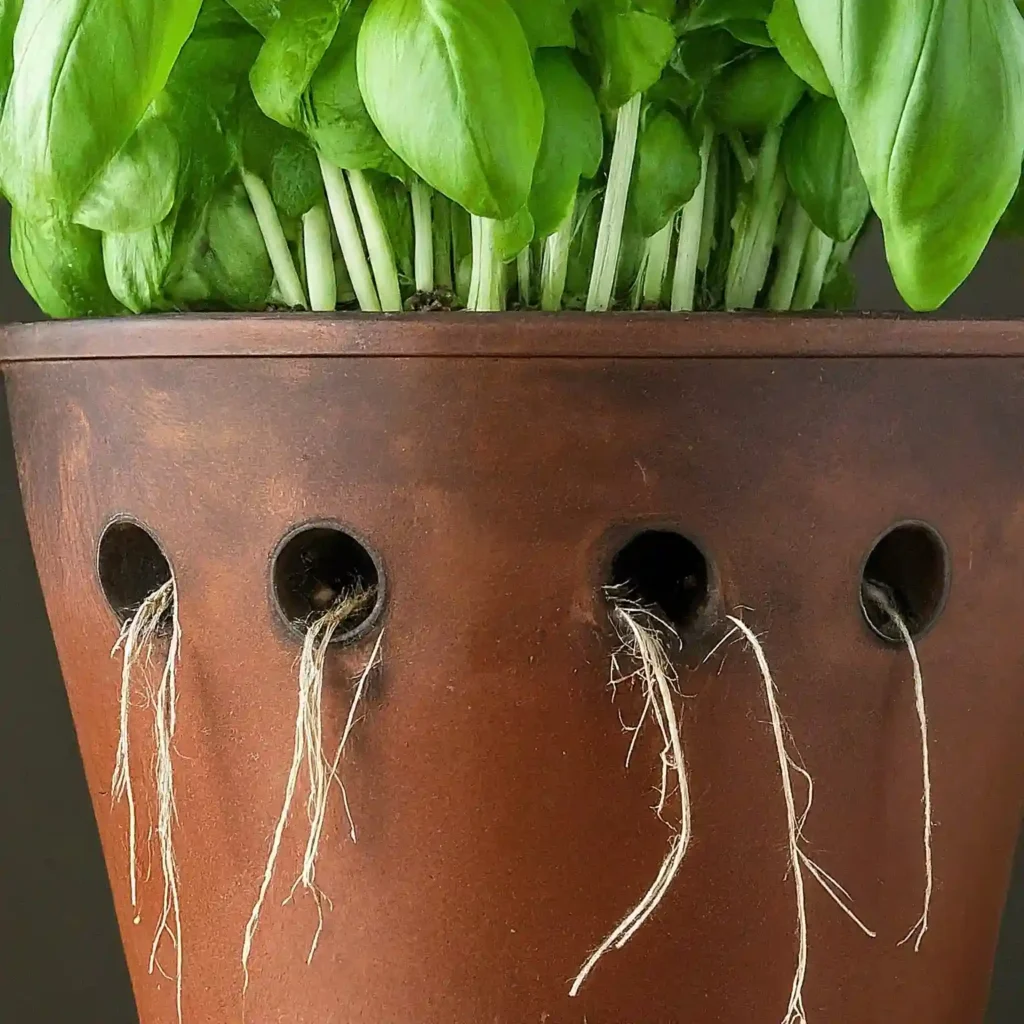
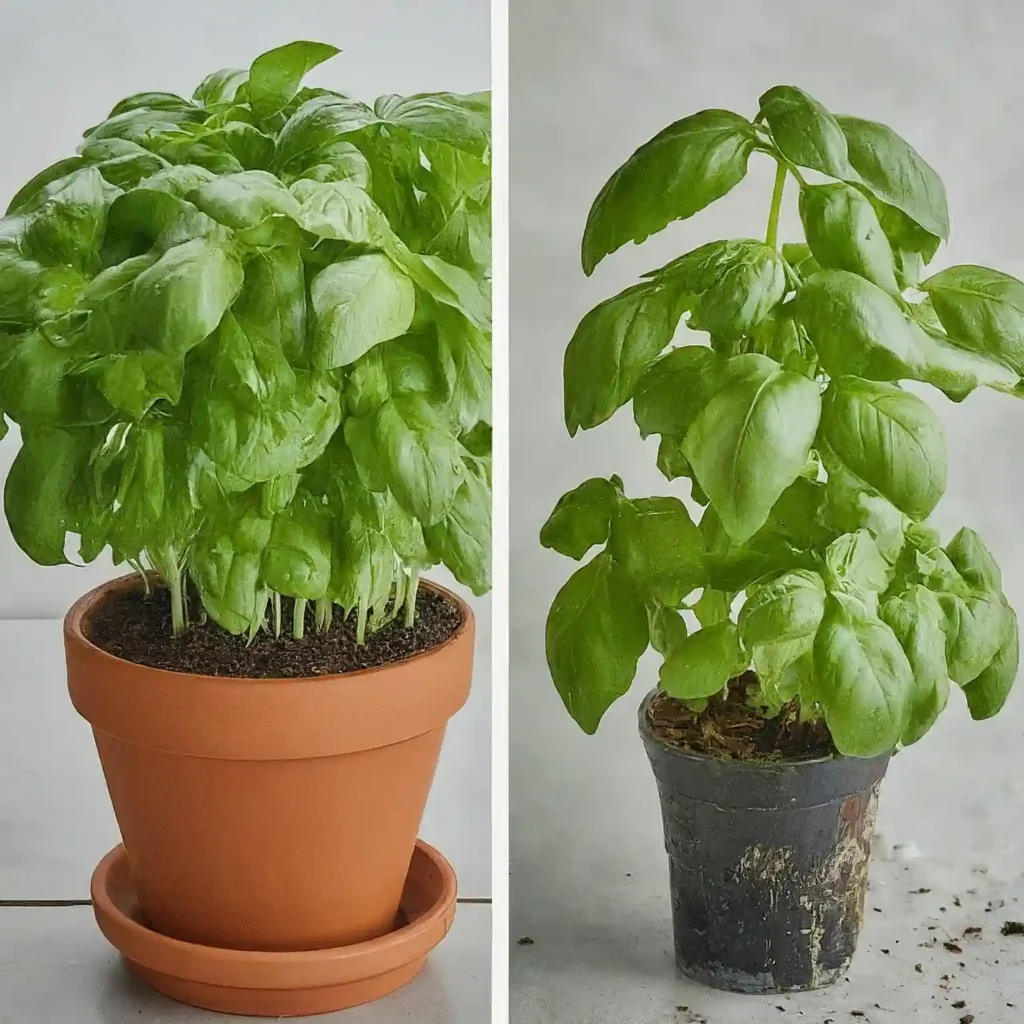
- Visible Roots: Take a peek at the drainage holes of your pot. Are roots peeking out, yearning for escape? This is a strong indicator of rootboundness.
- Stunted Growth: Is your basil plant noticeably smaller than you expected, with fewer leaves and shorter stems? This could be a sign of restricted root growth.
- Leggy Appearance: Does your basil seem stretched out with long, thin stems and sparse leaves at the top? This can be another symptom of rootboundness, as the plant seeks light and resources beyond its pot.
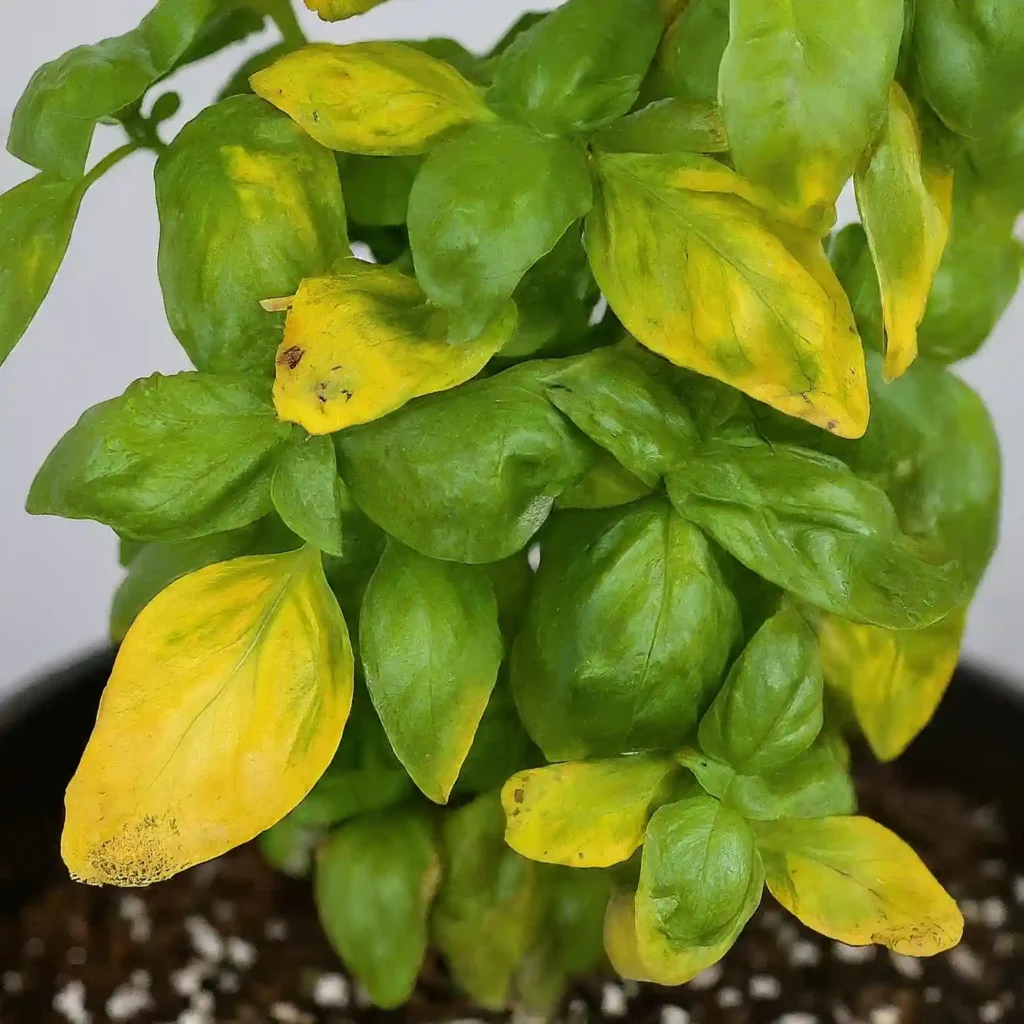
- Yellowing Leaves: Are your basil leaves turning yellow, especially from the bottom up? This could be due to nutrient deficiencies caused by restricted root access to the soil.
Research and Resources:
For a deeper dive into rootboundness and its effects on plants, check out this informative article from the University of California, Berkeley Extension Master Gardener Program.
Remember, early detection is key! By being observant and understanding these signs, you can catch rootboundness before it significantly impacts your basil’s health. The next step? We’ll equip you with the knowledge and tools to give your beloved plant the spacious upgrade it deserves!
Stay tuned for the next chapter in your basil’s repotting journey, where we’ll explore the arsenal you need to successfully grant your plant a bigger and brighter future!
Choosing the Perfect Arsenal for Your Basil’s Repotting Adventure
Now that you’re a seasoned detective, armed with the knowledge of your basil’s rootbound woes, it’s time to prepare for the heroic act of repotting your small basil plant. But fear not, brave gardener! This isn’t a battle you have to fight alone. We’ll equip you with the perfect arsenal to ensure your basil thrives in its new, spacious home.
Pot Power:
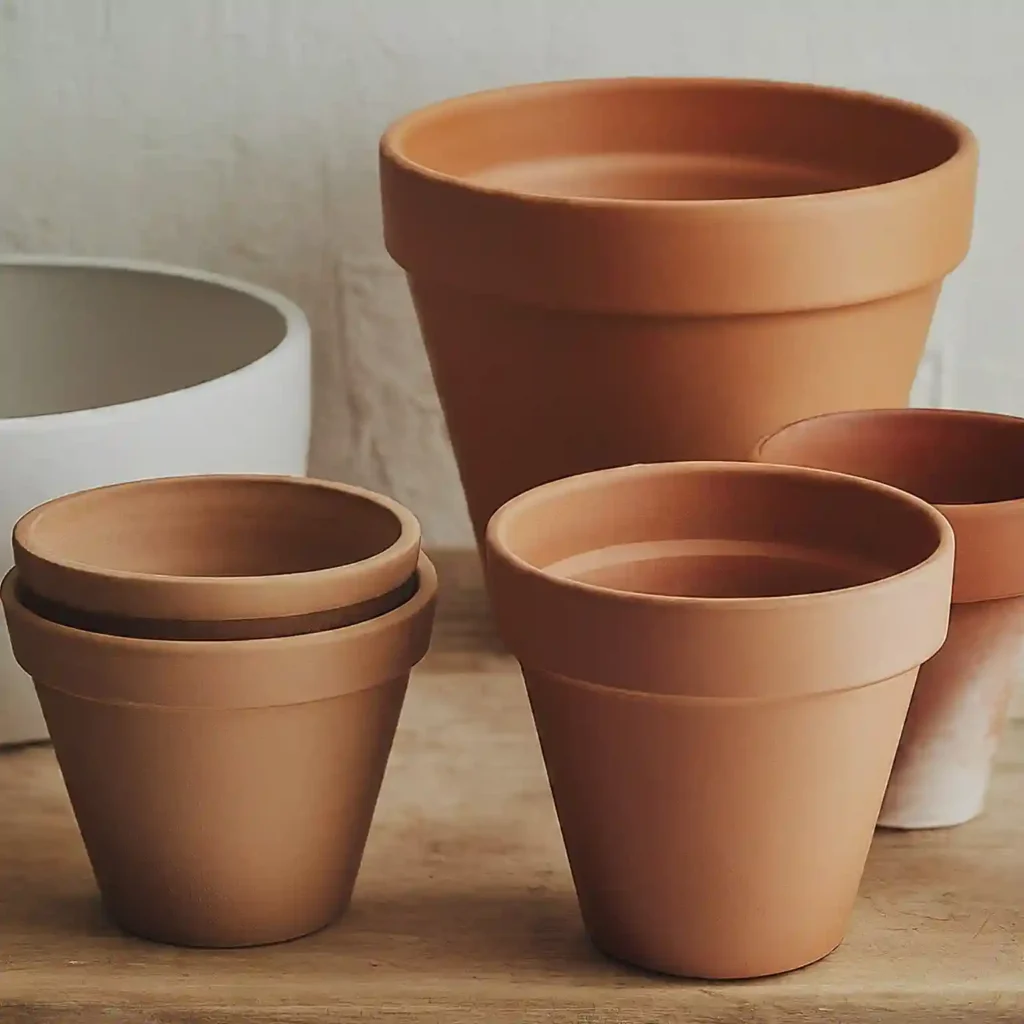
First things first, let’s talk pots. The ideal pot for your basil should be 1-2 inches larger in diameter than its current one, allowing ample room for root growth. Consider the material too! Clay pots offer good drainage, while plastic pots are lightweight and retain moisture. Ultimately, the choice is yours, but ensure the pot has drainage holes to prevent waterlogging, which can harm your plant.
Soil Science for Basil:
Next, let’s delve into the world of soil. Your basil deserves a comfortable, well-draining home, so choose a potting mix specifically formulated for herbs. These mixes are often lighter and airier than standard potting soil, allowing for optimal drainage and root aeration. Remember, happy roots equal happy basil!
Drainage is Key:
Here’s a crucial tip: never underestimate the power of drainage. Ensure your chosen pot has drainage holes at the bottom, and consider adding a layer of gravel or broken pottery to the bottom of the pot to further improve drainage, especially for larger pots. This prevents waterlogging, which can rot your basil’s roots.
Size Matters:
Choosing the right pot size is crucial. A pot that’s too large can retain too much moisture, while one that’s too small will quickly become rootbound again. As mentioned earlier, aim for a pot that’s 1-2 inches larger in diameter than your current one. Consider the mature size of your basil variety when choosing the pot size. For example, larger basil varieties like Genovese may need a larger pot than smaller varieties like Sweet Thai.
Remember, healthy roots are the foundation of a thriving basil plant. By choosing the right pot, soil, and drainage solutions, you’re setting your basil up for success in its new home. Stay tuned for the next chapter, where we’ll guide you through the step-by-step process of repotting your basil plant like a pro!
Repotting Your Basil: A Step-by-Step Guide to Rooty Bliss!
Now that you’ve assembled the perfect arsenal for your basil’s repotting adventure, it’s time to roll up your sleeves and get your hands dirty! Remember, this isn’t just about giving your plant a bigger home; it’s about liberating its roots and unlocking its full potential. So, let’s dive into the step-by-step process of repotting your small basil plant like a seasoned pro:
Hydration Hero:
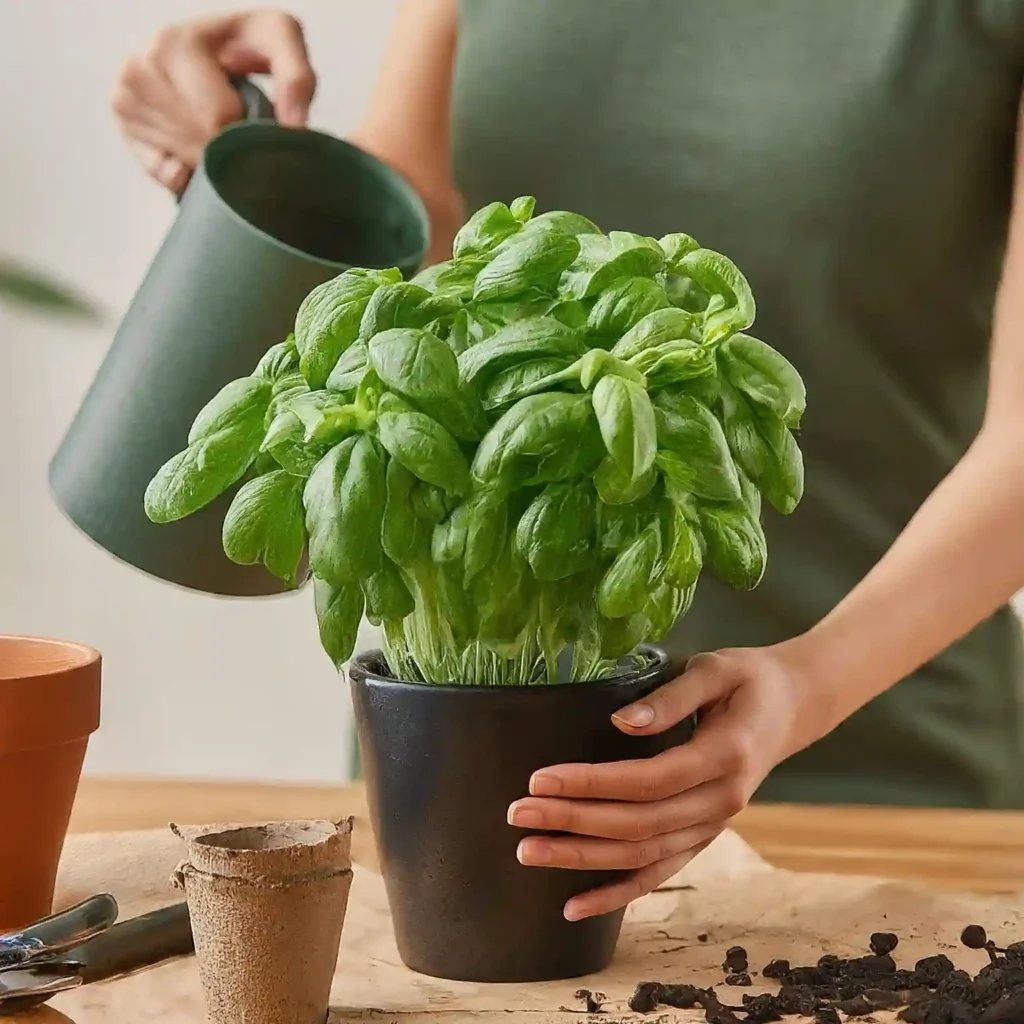
Before embarking on the journey, ensure your basil is well-hydrated. Water the plant thoroughly about an hour before repotting. This loosens the soil, making it easier to remove the plant without damaging its roots – crucial for a smooth transition!
Gentle Extraction:
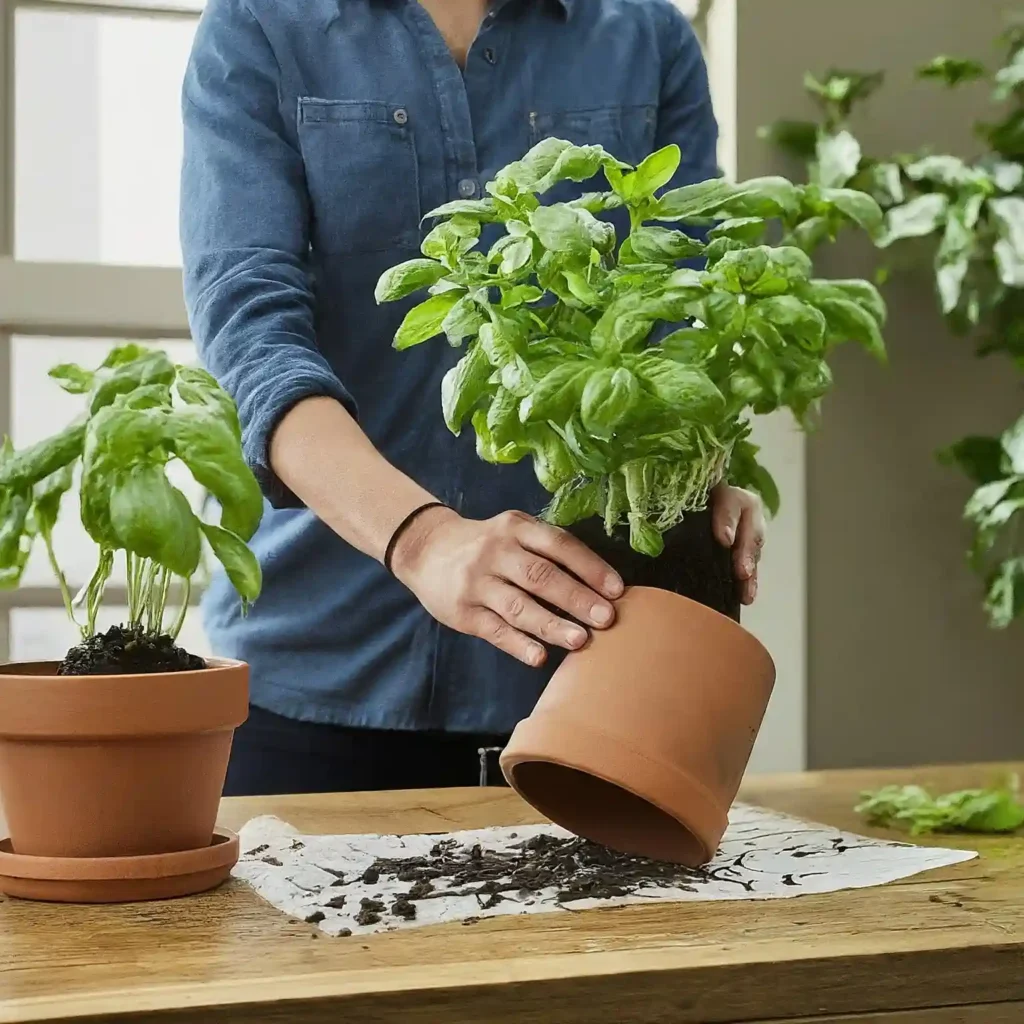
With your trusty trowel in hand, carefully loosen the soil around the base of your basil plant. Tilt the pot gently and tap the sides to encourage the plant to come out easily. Avoid pulling on the stem, as this can damage the delicate roots. If it’s stubborn, gently slide a butter knife around the edge of the pot to loosen the soil further.
Root Check & Pruning (Optional):
For severely rootbound plants, you might consider gentle root pruning. This involves carefully removing any dead, circling, or discolored roots with sharp, sterilized pruning shears. Remember, less is more, so prune judiciously and never remove more than 1/3 of the total root mass.
Preparing the New Palace:
Now, let’s prepare the welcoming embrace of your basil’s new home. Add a layer of fresh potting mix to the bottom of the new pot, creating a well for the plant. Ensure the depth allows the plant to sit at the same level as it did in the old pot. Don’t forget the drainage! If using a larger pot, consider adding a layer of gravel or broken pottery at the bottom to improve drainage further.
Planting & Settling In:
Carefully place your basil plant in the prepared well, gently spreading its roots out. Fill the pot with fresh potting mix, leaving about an inch of space at the top. Gently firm the soil around the base of the plant, but avoid packing it too tightly. Remember, happy roots need air to breathe!
Watering Wisely:
Give your newly repotted basil a good drink, but avoid overwatering. Aim to keep the soil moist but not soggy. As the plant settles into its new home, you may need to adjust your watering frequency based on factors like pot size, soil moisture, and weather conditions.
Remember: Repotting is a stressful experience for any plant, so be patient. Your basil may need a few weeks to adjust to its new surroundings. Don’t be discouraged if you see some initial leaf drop – this is normal. With proper care and attention, you’ll soon be rewarded with a thriving, bountiful basil plant!
Bonus Tip: Check out this helpful video on repotting basil plants:
By following these simple steps and providing your basil with the necessary care, you’ll be on your way to a successful repotting experience and a future filled with delicious, homegrown basil! Remember, the key is to be gentle, patient, and provide the right environment for your plant to flourish. So, grab your tools, unleash your inner plant whisperer, and get ready to witness the magic of a repotted basil plant thriving in its new home!
Nurturing Your Basil Champion: Post-Repotting Care for Leafy Triumph
You’ve successfully completed the crucial repotting process for your small basil plant. But hold on, our hero’s journey isn’t over yet! Just like any adventurer adapting to a new environment, your basil needs your nurturing touch to truly thrive in its spacious new home. Let’s delve into the essential post-repotting care that will transform your small, struggling plant into a leafy champion, ready to reward you with delicious pesto and fragrant culinary adventures.
1. Acclimatization: A Gentle Transition: Remember, repotting is a change of scenery for your basil. Give it time to adjust by placing it in a warm, well-lit location with indirect sunlight. Avoid sudden changes in temperature or light intensity, as this can stress the plant. Think of it as easing your basil into its new life with gentle care.
2. Light Up Your Basil’s Life: Basil is a sun-loving herb, craving bright, indirect sunlight for optimal growth. Aim for 6-8 hours of indirect sunlight daily. South-facing windows are ideal, but avoid harsh midday sun that can scorch the leaves. Remember, happy basil thrives in a sun-kissed haven!
3. Feeding Your Basil Hero: Your newly repotted basil may not need fertilizer immediately, as the fresh potting mix provides nutrients. However, after a few weeks, consider using a diluted organic fertilizer specifically formulated for herbs. Follow the instructions carefully to avoid over-fertilizing, which can harm your plant.
4. Harvesting for Success: The best part of a thriving basil plant? Enjoying its delicious leaves! Start harvesting regularly, pinching off leaves from the top of the stems. This encourages bushier growth and keeps your basil producing more leaves. Remember, the more you harvest, the more it grows!
By following these simple yet crucial post-repotting care tips, you’ll set your basil plant on the path to leafy success! Soon, you’ll be rewarded with an abundance of fragrant leaves, ready to elevate your culinary creations and fill your home with the delightful aroma of fresh basil.
Remember, your dedication and knowledge are the key ingredients in your basil’s success story. Continue to observe your plant, adjust its care as needed, and soon, you’ll be a true basil whisperer, enjoying the fruits (or should we say leaves?) of your labor!
Troubleshooting Your Basil’s Hiccups: Conquering Common Issues After Repotting
Even the most valiant heroes face challenges, and your newly repotted basil plant is no exception. This section equips you with the knowledge to diagnose and troubleshoot common issues that might arise after repotting your small basil plant. Remember, early detection and understanding are key to keeping your leafy champion thriving!
1. Yellowing Leaves: A Sign of Adaptation: Don’t panic if you see some yellowing leaves after repotting your basil. This is often a temporary adaptation period, as the plant adjusts to its new environment. Be patient and provide consistent care, and the yellowing should subside within a few weeks.
2. Slow Growth Blues: If your basil seems to be growing slowly after repotting, there could be a few culprits. Check if it’s receiving enough light, especially indirect sunlight for 6-8 hours daily. Ensure the soil isn’t overly wet or dry, and adjust your watering schedule accordingly. Remember, a happy medium is key!
3. Pests & Diseases: Organic Solutions: While rare, pests and diseases can sometimes affect basil plants. If you notice any unwanted guests, opt for organic control methods first. Insecticidal soap or neem oil sprays can be effective against common pests like aphids or whiteflies. Remember, prevention is key! Regularly inspect your plant and provide proper care to minimize the risk of infestations.
By understanding these common issues and applying the right solutions, you’ll be able to navigate any bumps in the road your newly repotted basil plant might encounter. Remember, with a little knowledge and TLC, your basil hero will soon be flourishing and rewarding you with its delicious bounty!
Beyond the Basics: Advanced Repotting Techniques for Basil Domination
Congratulations! You’ve mastered the art of repotting your small basil plant and witnessed its transformation into a leafy champion. But the journey doesn’t end here, fellow herb enthusiast! For those seeking to push the boundaries and unlock even more basil power, we delve into the realm of advanced repotting techniques. Think of it as earning your black belt in basil cultivation!
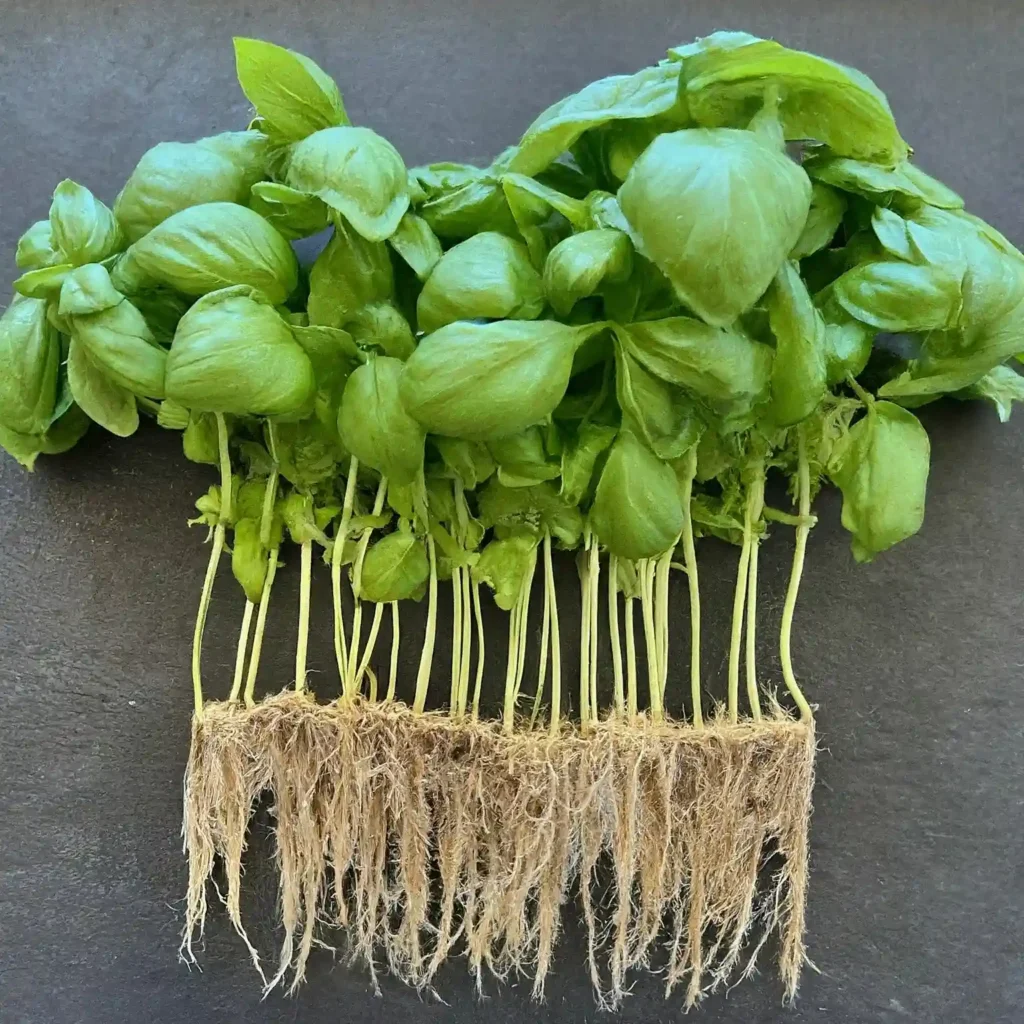
1. Repotting Multiple Plants: Did you buy a multi-plant basil container at the store? Fear not! You can successfully repot individual plants to give them each room to thrive. Carefully separate the plants at the base, ensuring each has a healthy root system. Repot them individually following the steps outlined earlier, and watch them flourish as independent basil heroes!
2. Dividing Basil Plants: Want even more basil bounty? Consider dividing your mature basil plant! This technique involves carefully splitting the plant into multiple smaller plants. Just ensure each division has healthy roots and leaves. Repot each division individually, and soon you’ll have a mini basil battalion ready for culinary adventures!
3. Winter Care for Indoor Basil: Basil thrives in warm weather, but don’t despair if winter approaches! With proper care, you can enjoy fresh basil indoors year-round. Bring your basil plant indoors, placing it in a sunny window with at least 6 hours of indirect sunlight daily. Reduce watering as the plant goes dormant, and consider using grow lights to supplement natural light. With care, your basil can become a cherished indoor companion!
Remember, the key to basil success lies in continuous learning and experimentation. Don’t be afraid to try new techniques and adapt your care based on your specific environment and plant’s needs. By staying curious and providing your basil with love and knowledge, you’ll be rewarded with a constant supply of delicious, homegrown leaves, transforming your culinary creations and filling your home with the delightful aroma of fresh basil.
So, are you ready to embark on this advanced basil adventure? Remember, the resources and knowledge you’ve gained throughout this guide will be your trusty companions on your journey. With dedication and a dash of experimentation, you’ll be a true basil whisperer in no time, enjoying the endless possibilities this versatile herb offers!
I hope this comprehensive guide empowers you to become a confident and successful basil cultivator! Remember, the journey is just as rewarding as the delicious destination, so have fun and enjoy the process!
VII. Conclusion: Your Basil’s Journey to Grandeur Begins Now!
Remember that wilting basil plant, yearning for a bigger home and a brighter future? You’ve come a long way, fellow plant enthusiast! By delving into the secrets of repotting a small basil plant, you’ve equipped yourself with the knowledge and tools to transform your struggling herb into a leafy champion.
This guide wasn’t just about repotting; it was about empowering both you and your basil plant. You’ve learned to understand its needs, troubleshoot potential issues, and even explore advanced techniques to unlock its full potential.
Now, the grand finale begins! With your newly repotted basil basking in its spacious haven, remember these key takeaways:
- Observe and Adapt: Pay attention to your plant’s response to its new environment. Adjust light, watering, and care based on its individual needs.
- Patience is Key: Don’t expect instant results. Repotting is an adjustment, and your basil will take time to thrive in its new home.
- Enjoy the Journey: Growing your own herbs is a rewarding experience. Savor the process, celebrate each new leaf, and relish the delicious bounty your basil provides.
So, go forth and conquer the world of basil cultivation! Remember, the knowledge and confidence you’ve gained are your most valuable tools. With continued care and a touch of experimentation, you’ll be harvesting delicious, homegrown basil for years to come.
And who knows, maybe your success story will inspire others to embark on their own basil adventures! Share your knowledge, spread the love of herbs, and let’s create a world where fresh, flavorful basil is within everyone’s reach.
Happy basil growing!
FAQ: Repotting Your Small Basil Plant – Grow a Leafy Champion!
When is the best time to repot my small basil plant?
The best time to repot your basil is during the growing season, typically in spring or early summer when temperatures are warm and the risk of frost has passed. Avoid repotting during fall or winter as the plant enters dormancy.
How often should I repot my basil plant?
Generally, young basil plants need repotting every 2-3 weeks until they reach their desired size. Mature basil plants might only need repotting every year or two, depending on their growth rate and pot size.
What are the signs my basil needs repotting?
Look for signs like visible roots poking out of drainage holes, stunted growth, yellowing leaves, and a leggy appearance. These indicate your basil is rootbound and needs a bigger home.
What kind of pot should I use for my basil?
Choose a pot made of clay or plastic with drainage holes. The new pot should be 1-2 inches larger in diameter than the current pot. For larger basil varieties, consider an even bigger pot.
Do I need to use special soil for repotting basil?
Yes, use a potting mix specifically formulated for herbs. These mixes are well-draining and allow for optimal root aeration. Avoid using garden soil, which can be dense and retain too much moisture.
How do I water my basil after repotting?
Water your basil plant thoroughly after repotting to settle the soil around the roots. But avoid overwatering, as this can lead to root rot. Aim to keep the soil moist but not soggy.
Can I fertilize my basil after repotting?
Wait at least a few weeks before fertilizing your newly repotted basil. The fresh potting mix already provides nutrients. When you do fertilize, use a diluted organic fertilizer specifically formulated for herbs.
What are some common problems after repotting basil?
Yellowing leaves can be a temporary adjustment period. Other issues include slow growth due to insufficient light or watering, and pests or diseases. Early detection and proper care are key.
Can I divide my basil plant after repotting?
Yes, mature basil plants can be divided after repotting. Carefully separate the plant into multiple divisions, each with healthy roots and leaves. Repot each division individually.
Can I grow basil indoors year-round?
Yes, with proper care! Bring your basil indoors before winter, place it in a sunny window, and supplement natural light with grow lights if needed. Reduce watering as the plant goes dormant.
